Submissions
After an App is made, they can be used and distributed in the form of ‘Submissions.’ They can be filled out (like a form), and take the user input and manipulate it in the way that the business rules of the App tell it to. Submissions can also be distributed to other users and linked to so that your content can be easily distributed.
The Submissions Tab
When you select the ‘Submissions’ tab 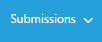 , followed by the ‘Review
Submissions’ dropdown option
, followed by the ‘Review
Submissions’ dropdown option  , the ‘Review Submissions’ module
will open:
, the ‘Review Submissions’ module
will open:
This module is used to manage the submissions that have been made to any App.
Viewing Submissions for an App
You can view Submissions for an App by selecting from the ‘App Name’ dropdown:

- Choose an App from the drop-down box
- (Optional) Choose a date range to see Submissions for a specific time period
- If applicable, choose a location to filter App Submissions
- If applicable, choose a location and/or a category/subcategory to filter App Submissions
- Click on the ‘Refresh’ button

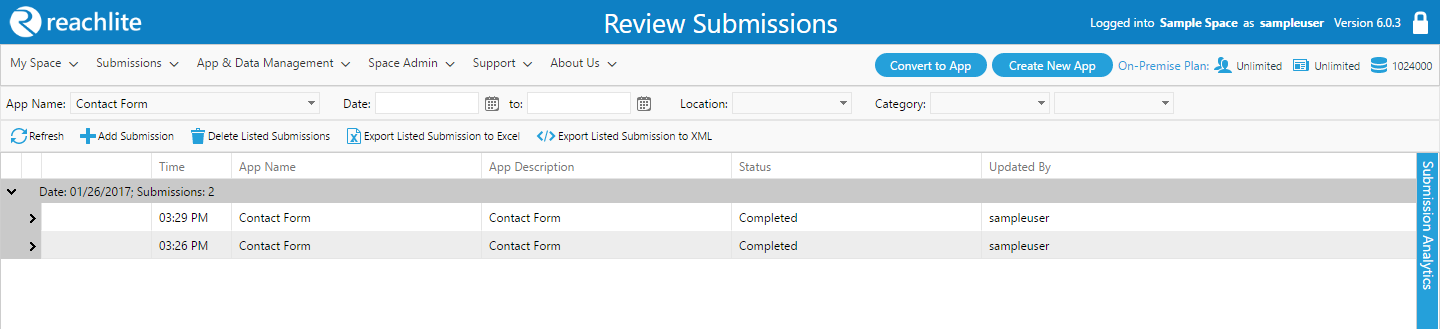
The submissions that satisfy your search criteria will appear in the results table sorted by date:

Managing Submissions
This section talks about how to manage the submissions in your space.
The Submissions Toolbar

Click to refresh the list of submissions.
Click  to create a new submission for the App (See section 3.4)
Click  to delete all of the submissions listed on the page.
Click  to export all of the data in the submissions currently
in view to an Excel file.
to export all of the data in the submissions currently
in view to an Excel file.
Click  to export all of the data in the submissions currently
in view to an XML file.
to export all of the data in the submissions currently
in view to an XML file.
The Submissions Table

Click on the  arrow beside the date to collapse or expand the
list of submissions for that date
arrow beside the date to collapse or expand the
list of submissions for that date
For each submission, there are four buttons. These buttons appear when
you hover over each of the submission rows: 
 Edit Submission: Click this button to edit the submission
 Delete Submission: Click this button to delete the
submission
Delete Submission: Click this button to delete the
submission
 Export to Excel: Click this button to export the
submission data to an excel file.
Export to Excel: Click this button to export the
submission data to an excel file.
 Export to XML: Click this button to export the submission
data to an XML file.
Export to XML: Click this button to export the submission
data to an XML file.
Click the  arrow beside any submission to view a condensed
summary of the input for the controls in the submission:
arrow beside any submission to view a condensed
summary of the input for the controls in the submission:

You will see tabs for the different Pages of the App, with a summary of the input for the controls/fields in each Page. All text inputs will be shown with their input, while checkboxes and other fields may have other ways to display their inputs, such as ‘N’ for not checked and ‘Y’ for checked.
Creating and Editing Submissions
This section explains how to create and edit submissions of Apps.
Opening the Submissions Editor
To create a new submission for the selected App, click in the
submissions toolbar. This will open the Submission Editor.
You can also edit a submission by clicking on the button
beside the submission name. This will also open the same Submission
Editor.
Editing Submissions in the Submission Editor
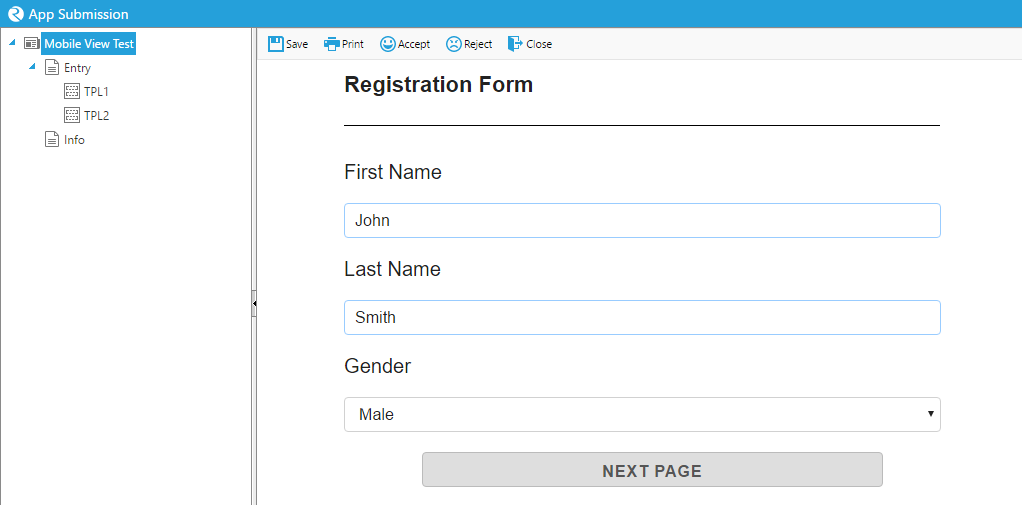
After opening the Submission Editor, you can perform actions on your submission.
Click on the name of the App at the top of the tree diagram on the left-hand side to see the entire submission with all of the Pages.
The Pages under the  list are considered ‘read-only’ and do not
have any changeable input.
list are considered ‘read-only’ and do not
have any changeable input.
Click on a Page under the  list to view that Page.
Changing a Submission
You may then begin to add or change input in a submission based on the fields given in the current Page. You may go between Pages and edit them without losing changes in another. Your edits do not need to be saved until you leave the editor.
You must click  before leaving the editor to save your
changes.
before leaving the editor to save your
changes.
Updating, Printing, Approving
Click to save your changes to the entire submission when you
are ready to leave the editor.
Click  to Print a copy of what is currently on the preview
screen. This allows you to print different sections of the submission by
clicking on a Page (prints the Page), on
to Print a copy of what is currently on the preview
screen. This allows you to print different sections of the submission by
clicking on a Page (prints the Page), on  or
or  (prints
all of the pages in ‘Entry’ or ‘Info’), or the entire submission by
clicking on the App name on the top of the list.
(prints
all of the pages in ‘Entry’ or ‘Info’), or the entire submission by
clicking on the App name on the top of the list.
Click  to change the submission status to ‘Accepted’, and to
make the submission read-only.
to change the submission status to ‘Accepted’, and to
make the submission read-only.
Click  to change the submission status to ‘Rejected’, and to
make the submission read-only.
to change the submission status to ‘Rejected’, and to
make the submission read-only.
Click  to close the Submission Editor.