My Space
Your ‘Space’ is your centre for collaboration. This area allows you to share and receive submissions by interacting with other ReachLite users. Users will be able to review submissions of Apps and communicate between each other in streamlined email-like fashion.
Click on the ‘My Space’ tab  in the main toolbar to open your
space.
in the main toolbar to open your
space.
Personal Folders
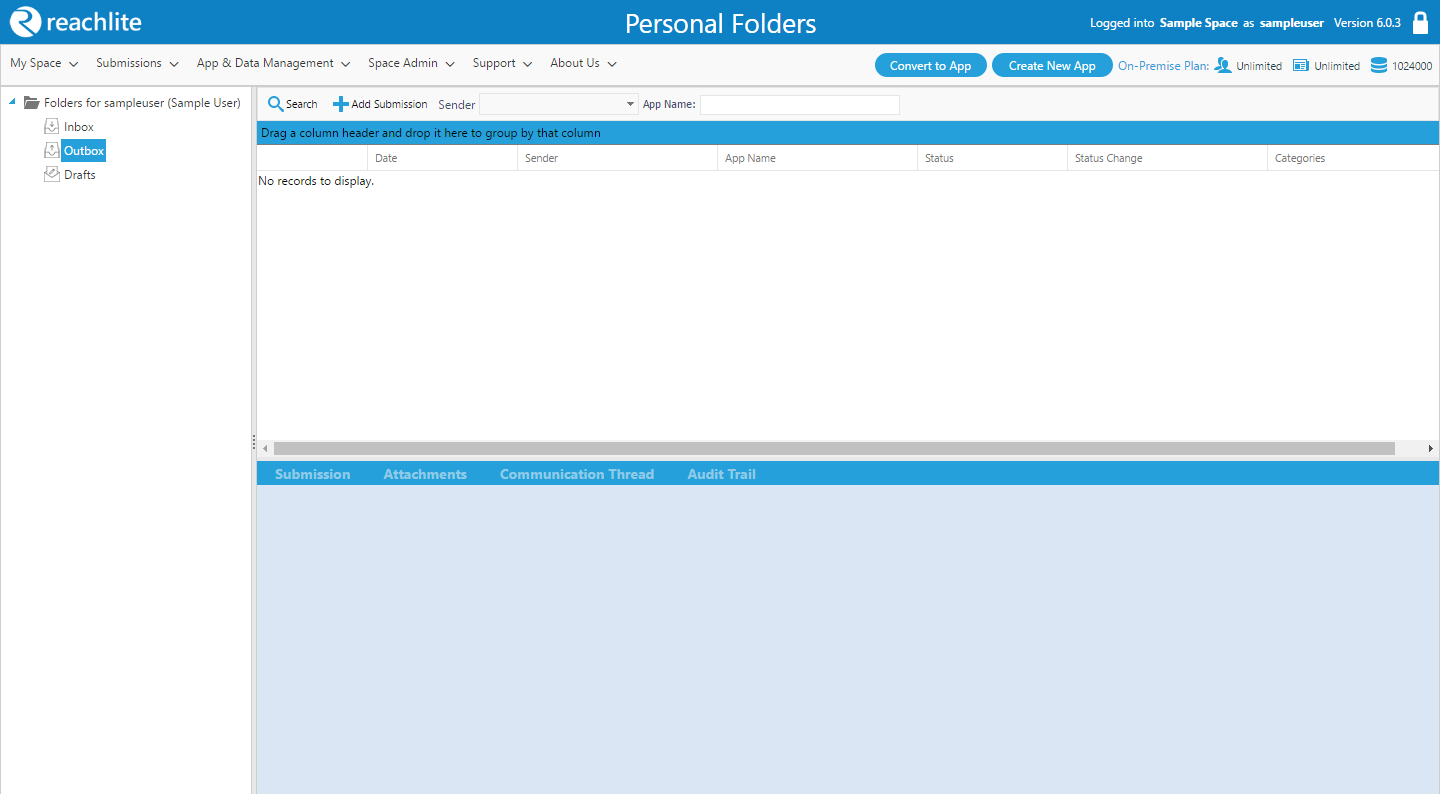
Your personal folders are the folders that you use to share submissions. Click on ‘Personal Folders’ on the ‘My Space’ toolbar to open your Personal Folders.
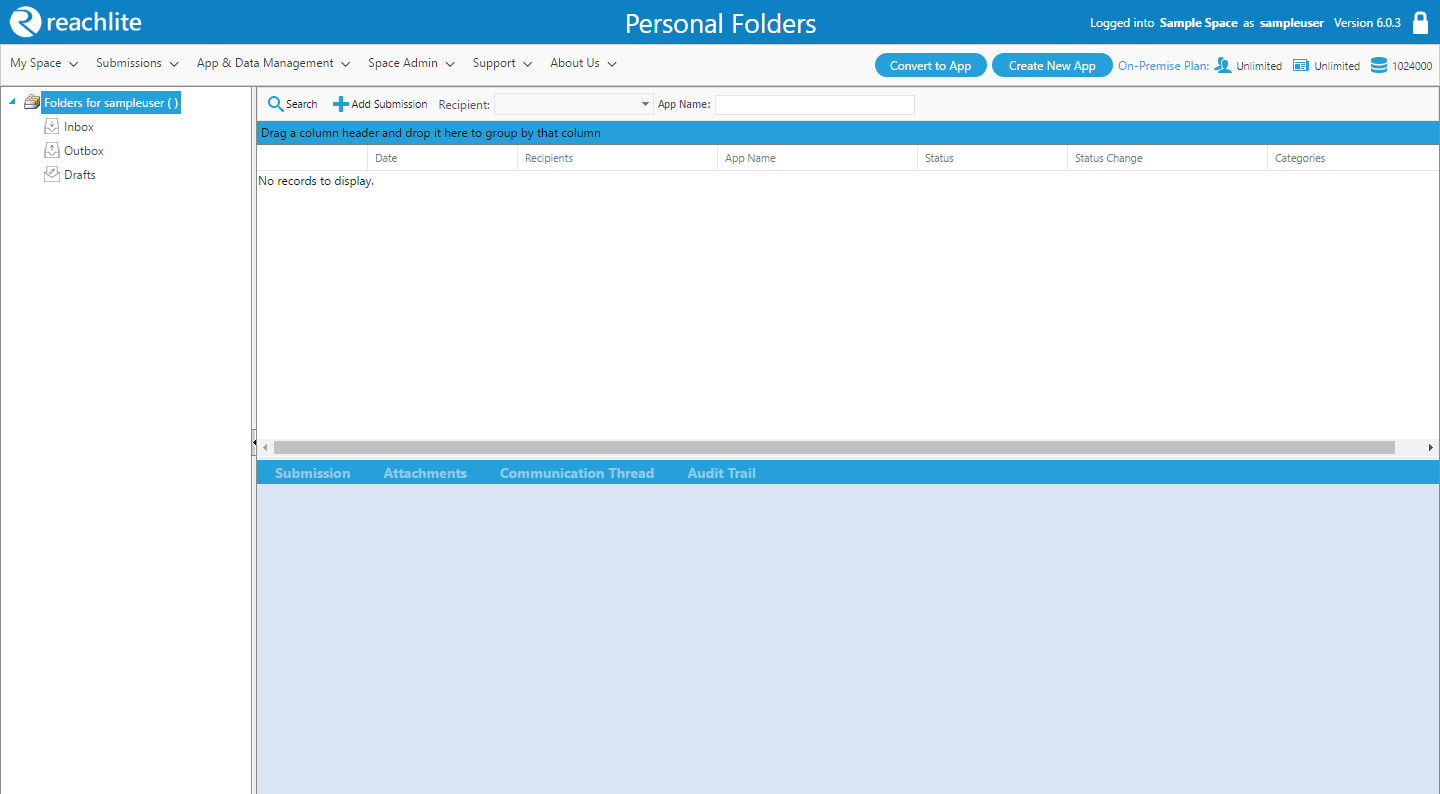
Folder Navigation
On the left-hand side of the module, you will see a tree navigation view, through which you can navigate through all of your personal folders:
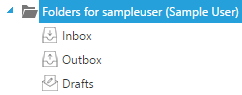
The ways the folders are set up are similar to how you would use your email; you have an Inbox, Outbox, and a Drafts folder. Inside these folders will be submissions that you are either sending out or receiving to and from other ReachLite users.
Inbox: Click on the ‘Inbox’ label  to open your inbox.
This folder will have submissions that have been received from other
ReachLite users. You will be able to review those submissions and
communicate with the senders.
to open your inbox.
This folder will have submissions that have been received from other
ReachLite users. You will be able to review those submissions and
communicate with the senders.
Outbox: Click on the ‘Outbox’ label  to open your Outbox.
This folder will have submissions that you are sending out to other
ReachLite users. You can also access your drafts from here.
to open your Outbox.
This folder will have submissions that you are sending out to other
ReachLite users. You can also access your drafts from here.
Drafts: Click on the ‘Drafts’  to see drafts of your
submissions that you may eventually send out. You can also access this
folder in the Outbox.
to see drafts of your
submissions that you may eventually send out. You can also access this
folder in the Outbox.
Searching for Submissions in a Folder
To search in a particular folder, select it from the tree navigation view on the left of the screen. You can also select the top item in the tree to search in all Folders.
Select a Recipient and an App Name from the dropdown boxes:

Click on the ‘Search’ button  to find the submissions with the
specified recipient or App Name. You can also leave the dropdown boxes
blank to show the entire folders when you click on the ‘Search’ button.
to find the submissions with the
specified recipient or App Name. You can also leave the dropdown boxes
blank to show the entire folders when you click on the ‘Search’ button.
Sending a Submission
Using Personal Folders, you can send submissions of your Apps to other users of ReachLite.
To send a submission, you must go through several steps. These are outlined in the subsections.
Select an App and Recipients
First, click on the ‘Add Submission’ button  . This will open
the ‘Select App’ window:
. This will open
the ‘Select App’ window:
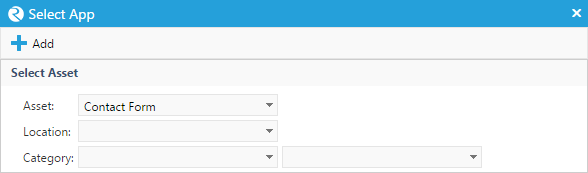
Choose an App to send in a Submission. You can refine the list of Apps to choose from by filtering using a Location and/or an App Category/Subcategory.
Then, choose the recipients from the list of available recipients by moving them from the ‘Available Recipients’ box to the ‘Current Recipients’ box. For each recipient you choose, you can choose whether or not they can review the submission (explained in the next section) or limit them to viewing only. Enable the ‘Review’ radio button to allow the recipient to review it, or CC to disallow reviewing.
Once you are done selecting the App and recipients, click the ‘Add’
button  to bring up the submission editor.
Editing a Submission
Once you finish selecting recipients, you can fill out a submission of the App in the submission editor. (Submissions are described in a different section, and are handled the same way here).

As you are filling out the submission, you can save a draft of it by
clicking on  . You can now exit the submission and return to
it at a later time.
. You can now exit the submission and return to
it at a later time.
To save the final version of the submission and send it to the
selected recipients, click  . Once you save the final version,
you will no longer be able to edit the submission.
. Once you save the final version,
you will no longer be able to edit the submission.
To edit the recipients of the submission, click on  .
.
To print the submissions, click on  .
.
If the Page of an App allows it, you can click  or
or  to add or delete Pages.
Receiving and Reviewing a Submission
If you are receiving a submission by another ReachLite user, you will see it in your inbox.
Editing Submissions in a Folder
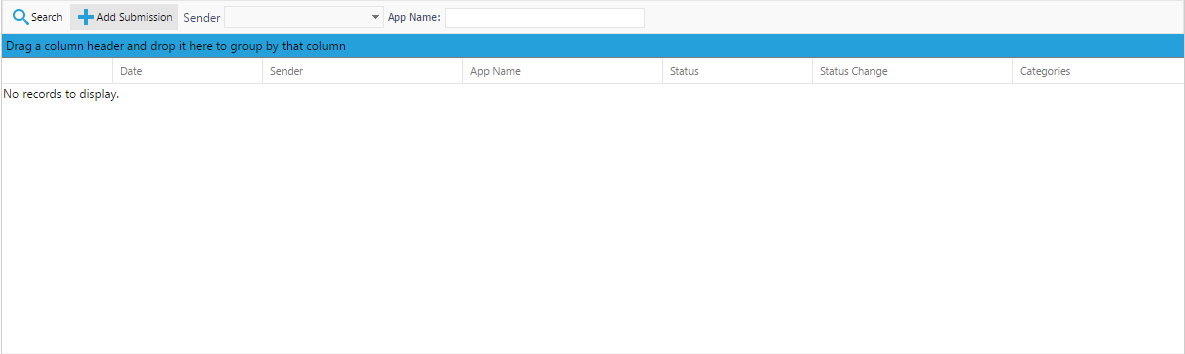
In the folder view, you can see a list of the submissions inside of it:
To open up the Submission Editor on a particular submission, click
on the  button beside the submission.
To delete the submission from the folder, click on the button beside the submission.
To export the submission to a CSV file, click on the  button beside the submission.
To export the submission to an XML file, click on the
 button beside the submission.
Folder View Tabs (Attachments, Communication Thread, Audit Trail)
There are some more ways that you can work with the submission that is to be sent. These are seen in the tabs in the folder view:

The Submission tab will show the submission as it looks like at the present moment. The other tabs will allow you to add attachments, communicate with users, and see the events that have occurred on this submission.
Attachments
You may add files as attachments when you are sending them to a recipient. Click on the ‘Attachment’s tab’ to manage the attachments for this submission.
Note: You cannot upload attachments once the submission has been saved as Final and sent to recipients.

To add a new attachment to the selected submission, click  .
This will bring up the attachment browser:
.
This will bring up the attachment browser:
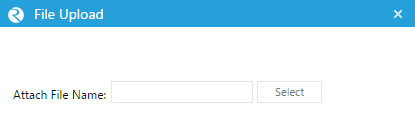
Click ‘Select’ to browse for a desired file on your computer. The window will close automatically once the file has been successfully uploaded, otherwise an error message will appear.
To download an attachment from the list of attachments, click the
 button.
To delete an attachment from the list, click the  button.
Communication Thread
The Communication Thread allows you to communicate with other users about the submission.

To send a message to a user, click on  . This will open the
Add Message window:
. This will open the
Add Message window:
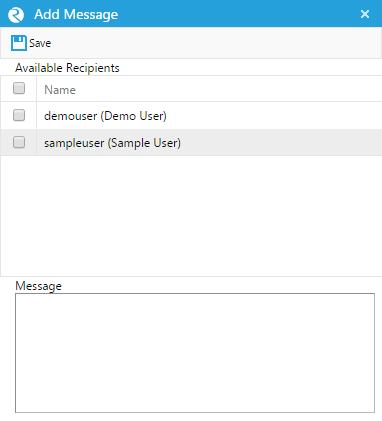
Choose the recipients of the message and type in a message. When you
are done, click  to send the message.
To refresh the list of messages in the message list, click  .
.
Audit Trail
The Audit Trail is a list of actions that have occurred on the submission. These actions include opening the submission, creating a submission, changing the status of a submission (accepted/rejected), and sending a submission.
To refresh the list of actions, click on .
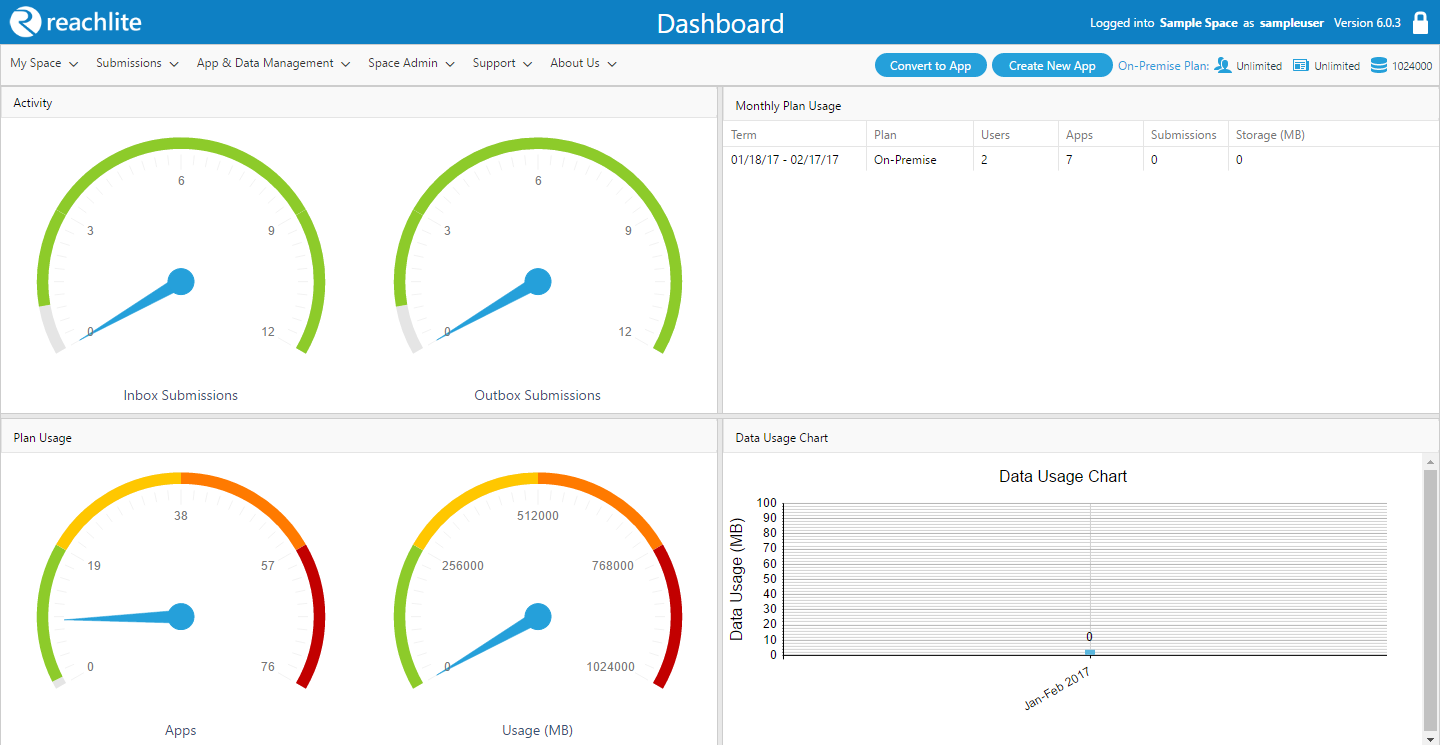
Dashboard
Click on ‘Dashboard’ on the ‘My Space’ toolbar to open the Dashboard.
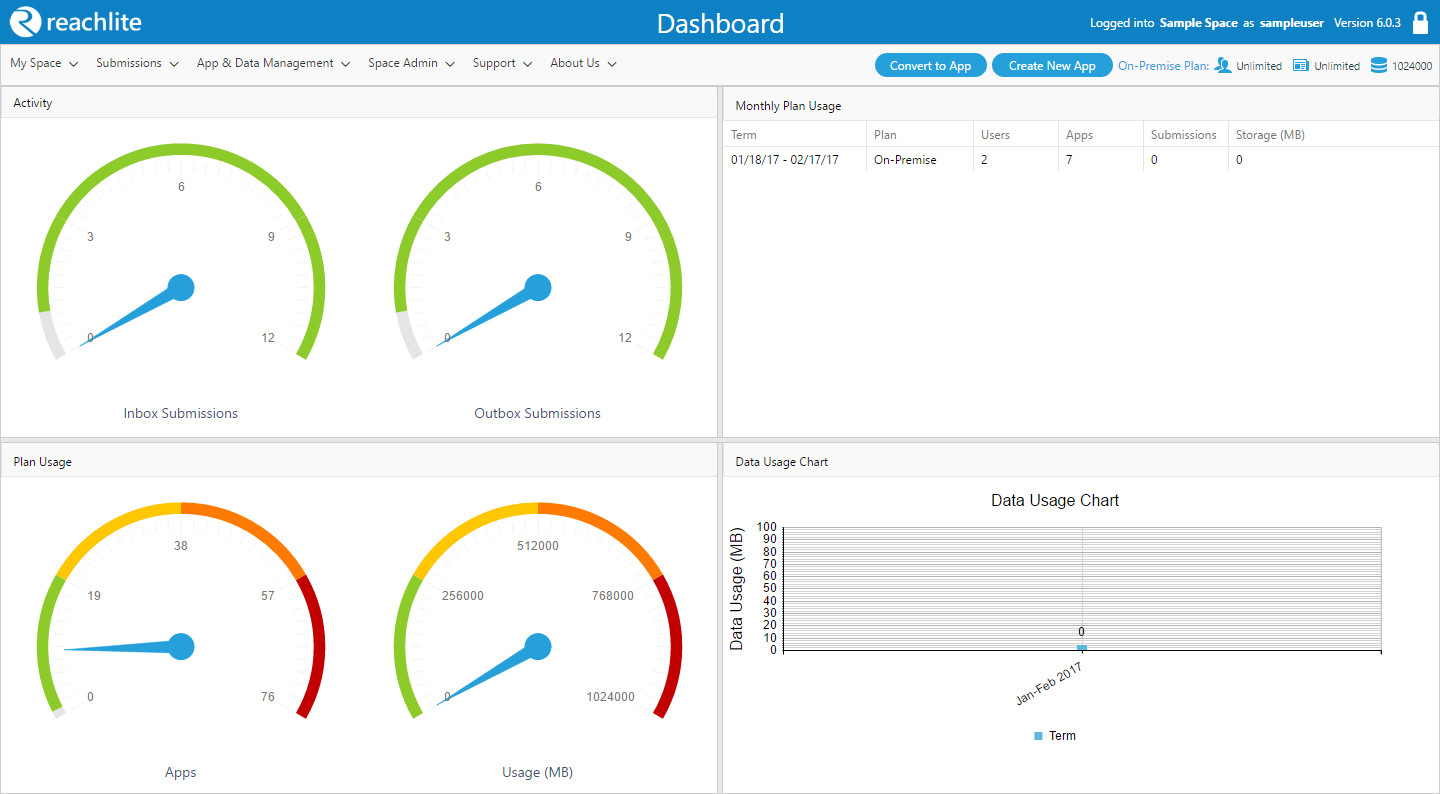
The Dashboard gives you an overall view of the state of your personal folders and consists of the following four sections:
- Activity
- Plan Usage (Graph)
- Plan Usage (Chart)
- Data Usage Dynamics
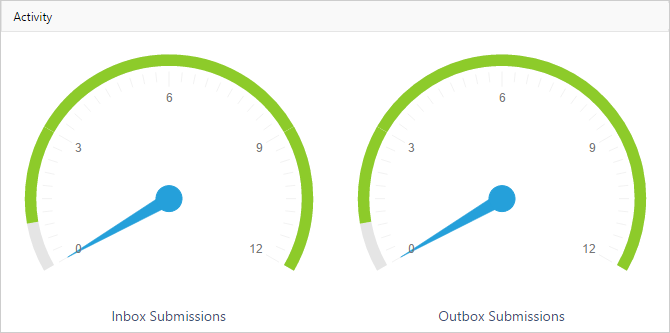
Activity
The “Activity” section of the dashboard shows the most recent activity of the user’s Inbox Submissions and Outbox Submissions in a graph format. These are graphical representations of the number of submissions sent and the number of submissions received, as shown:
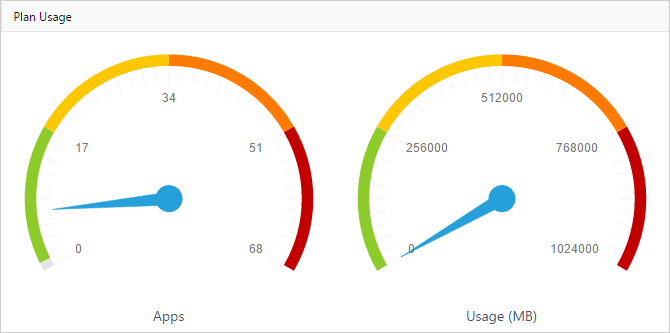
Plan Usage (Graph)
The “Plan Usage” (graphical) section of the dashboard shows the user’s App usage in both numbers and data usage (MB). This allows the user to conveniently check their usages. These are graphically represented, as shown:
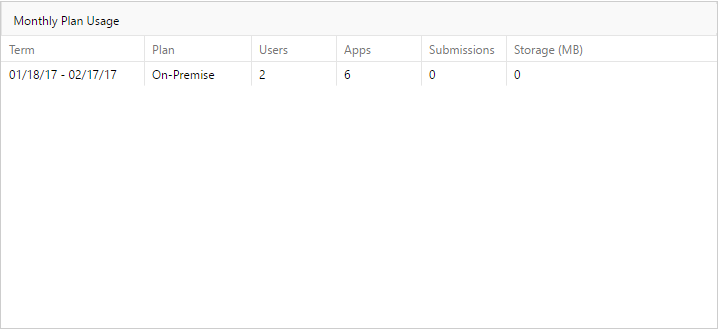
Plan Usage (Chart)
The “Plan Usage” (chart) section of the dashboard allows the user to view their usage in a more detailed format, subdivided into:

- Term - displays the period of time
- Plan - displays the active plan of the registered account
- Users - displays the user count under the account
- Apps - displays the number of total apps created throughout the term
- Submissions - displays the number of submissions made/received during the term
- Storage (MB) - displays the amount of storage used in the term
Example usage chart:
Data Usage Dynamics
The “Data Usage Dynamics” section of the dashboard shows the user their data usage (MB) over their last 12 terms. This is represented by a line graph, as shown:
